👁️ Visibility & Invitation Settings
This article explains how to use InterScribe features effectively in your events.
- Author
- by Admin User
- 6 months ago
🔒 Overview
InterScribe gives you granular control over who can see and join your sessions. Whether you’re hosting an open event for the public or a private training for a select group, you can choose the right visibility and invitation method. This guide explains the available options and how to implement them.
🧭 Visibility Options
You can set a session’s visibility when creating or editing it:
- Public (Portal) – The session appears on your branded portal. Anyone visiting your portal can see and join the event. Ideal for church services, public webinars or community events.
- Private (Code only) – The session is hidden from the portal. Participants must enter a unique access code or use a direct link/QR code. Best for internal meetings or sensitive training sessions.
Making Public Sessions Private
If you initially create a public session but later decide to restrict access, simply edit the session, change the visibility to Private and optionally set an access code. The public listing disappears immediately.
Making Private Sessions Public
You can also switch a private session to public by toggling its visibility. Make sure the session is appropriate for public listing and remove any passcode if you no longer need it.
💡 Tip: Even public sessions can have passcodes if you want to limit attendance. Attendees will see the event on the portal but must enter the code to join.
🎫 Invitation Methods
There are several ways to share session access:
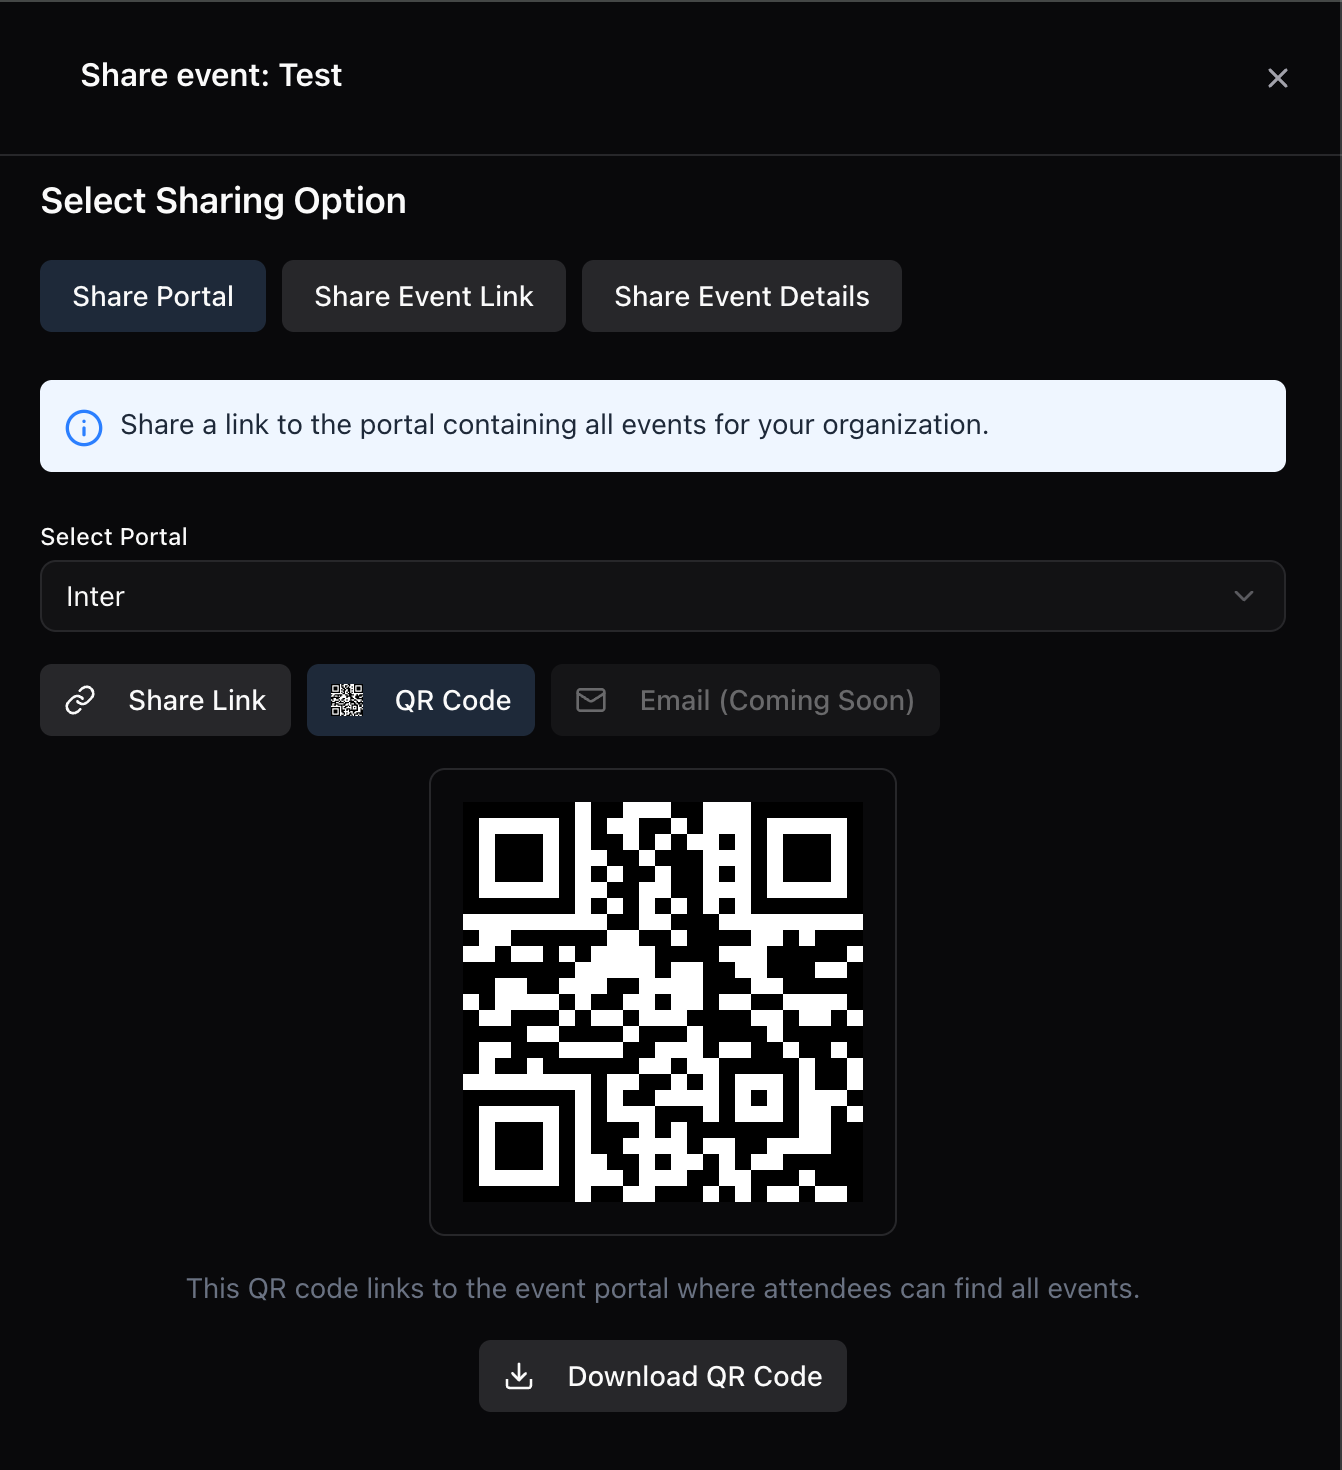
- Portal listing – For public events, simply direct your audience to your portal URL. They’ll see a list of upcoming sessions and can join with one click.
- Direct link – Every session has a unique URL. Copy it from the session details page and share it via email, chat or social media.
- QR code – InterScribe automatically generates a QR code for each session (and for rooms). Print the code on signage or slides to let attendees scan and join instantly.
- Access code – When you set a session to private, you can generate a numeric or alphanumeric code. Share this code verbally or in writing. Attendees enter it on your portal to unlock the session.
📝 Best Practices
- Use rooms for permanent spaces. Rooms provide persistent links and QR codes that do not change. Ideal for physical venues like sanctuaries, classrooms or meeting halls. A sign with a room QR code means attendees always join the current session in that space.
- Communicate instructions clearly. If you require an access code, mention it in your email or announcement so participants know how to join. Provide step‑by‑step directions for first‑time users.
- Monitor attendance. Use the live dashboard to see who has joined and which languages they’re listening to. Adjust codes or visibility if you notice uninvited participants.
❓ FAQs
Do QR codes expire? QR codes stay active as long as the linked session or room exists.
- Session QR codes will stop working if the session is deleted.
- Room and portal QR codes remain valid until you manually delete the associated room or portal.
💡 Tip: For recurring events, using a Portal QR code ensures attendees always land in the right place — no need to update links each time.
Can I create invite‑only lists? InterScribe does not currently support emailing invitations directly, but you can share links and codes through your own communication channels. See Team & Account Management for user roles and permissions.